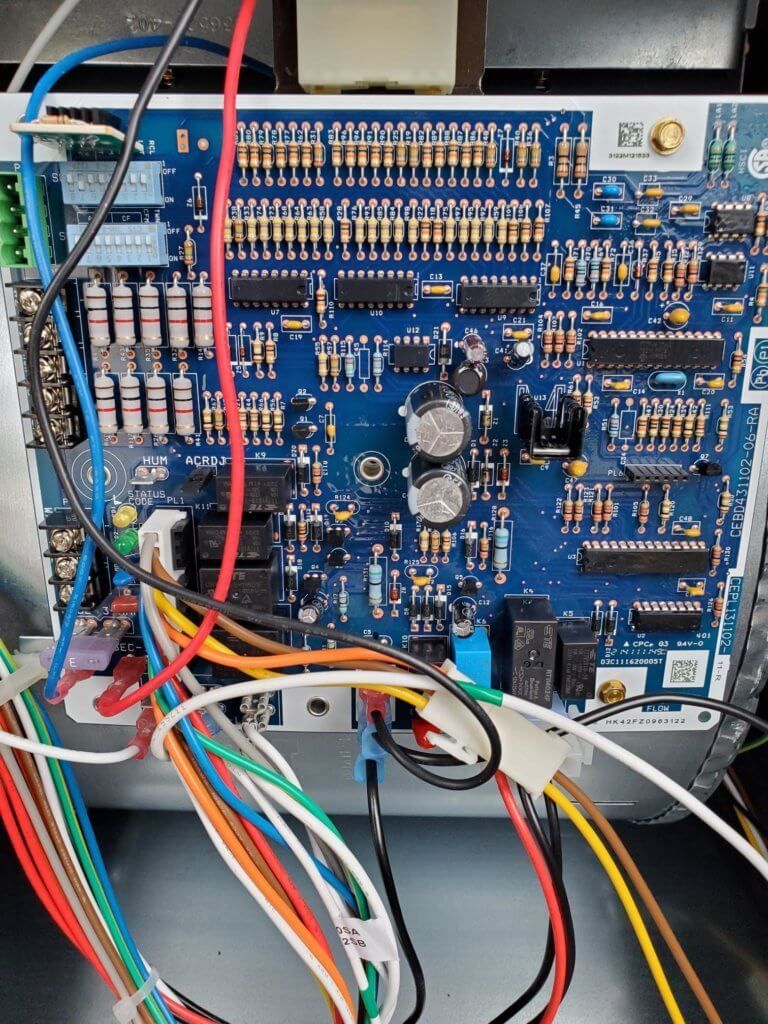
Have you ever found a communication fault or failure on an Infinity or Evolution system? Did you get a fault code 178 indoor coms fault or a 179 outdoor coms fault? Or have you seen a code 16 coming from the indoor board?
The cause of a communication failure could be a circuit board failed dragging down the com bus or the thermostat wire has failed. The thermostat wire may have high resistance in the wire causing coms loss or the wire has shorted killing the com volts.
This is how I explain to people in the field trouble shooting a 178/179 coms fault code.
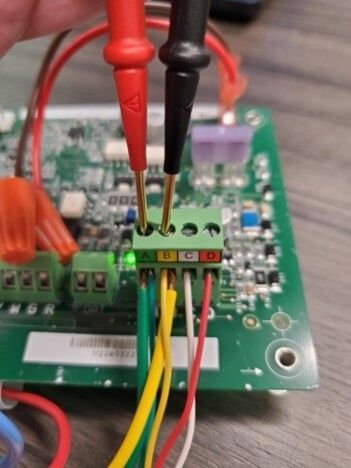
Anytime we are checking the coms bus, we check A&B or green and yellow depending on how it is labeled.
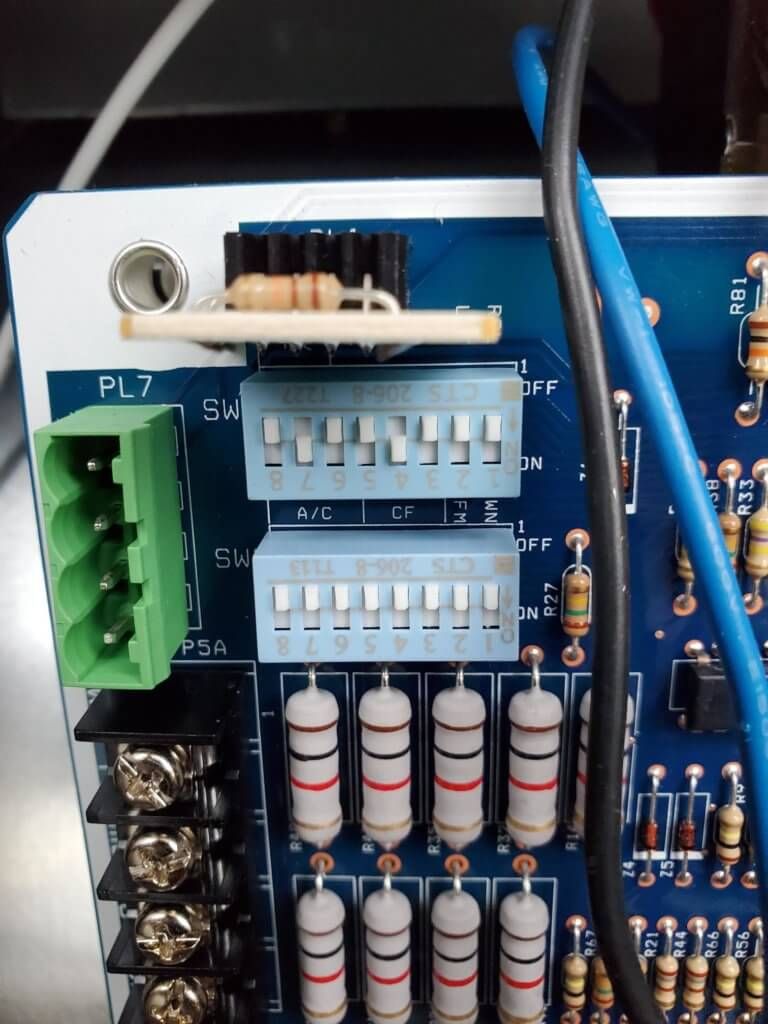
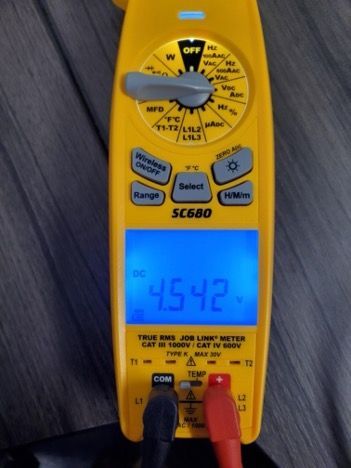
Start by checking the communication volts on A&B or green and yellow on the green plug at the indoor board. Good coms volts are around 4VDC. If the volts are below 3.2VDC, you will see coms failure. If the coms volts are low, my next step is to check the volts at the board without any wires connected. Good coms volts on the board without thermostat wires should be 4.5VDC. If the coms volts are low coming out of the board, then the board is bad.
Next, I ask the tech to remove the wire for the outdoor unit leaving the thermostat connected to the indoor only and recheck coms volts. If the coms volts come up and the thermostat can communicate to the indoor unit, we will then know to check the thermostat wire going to the outdoor unit and the board for the outdoor unit. If the coms volts are still low then we need to check the thermostat or thermostat wire. I recommend checking coms volts on the thermostat base plate. Does the coms volts come back with the thermostat removed? If yes, then I recommend checking the ohm value on the thermostat. A trick we use in the field is taking the thermostat off the wall, attaching a short peace of thermostat wire, and connecting direct to the indoor unit.
Reconnect the wires after this step is completed.
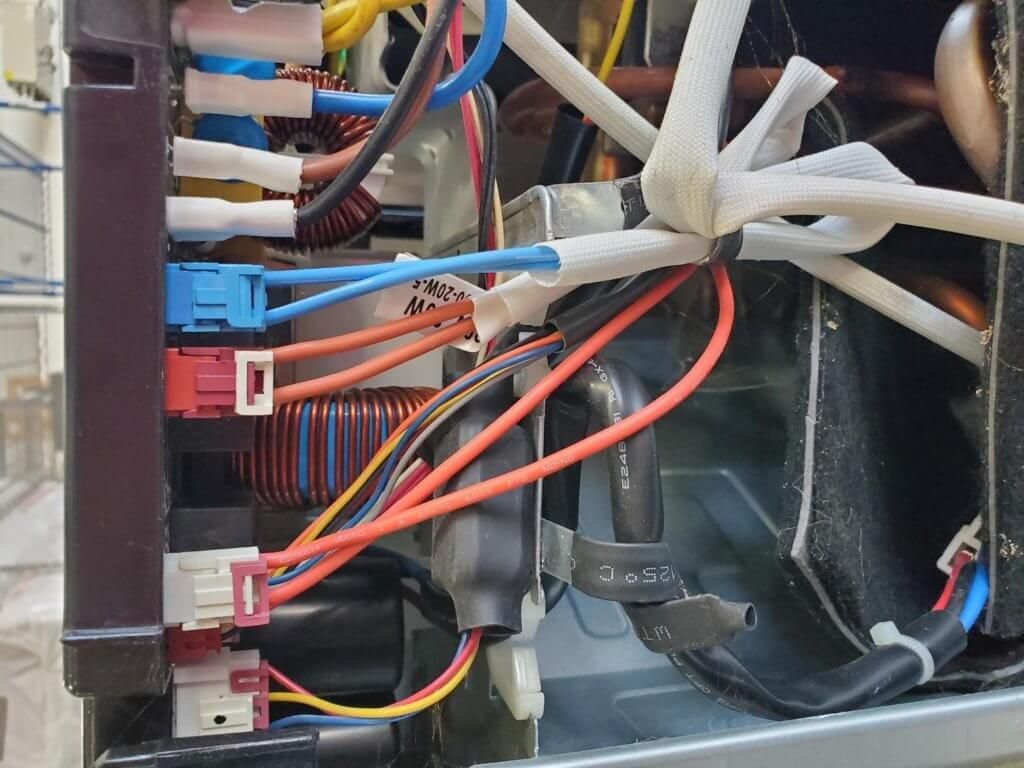
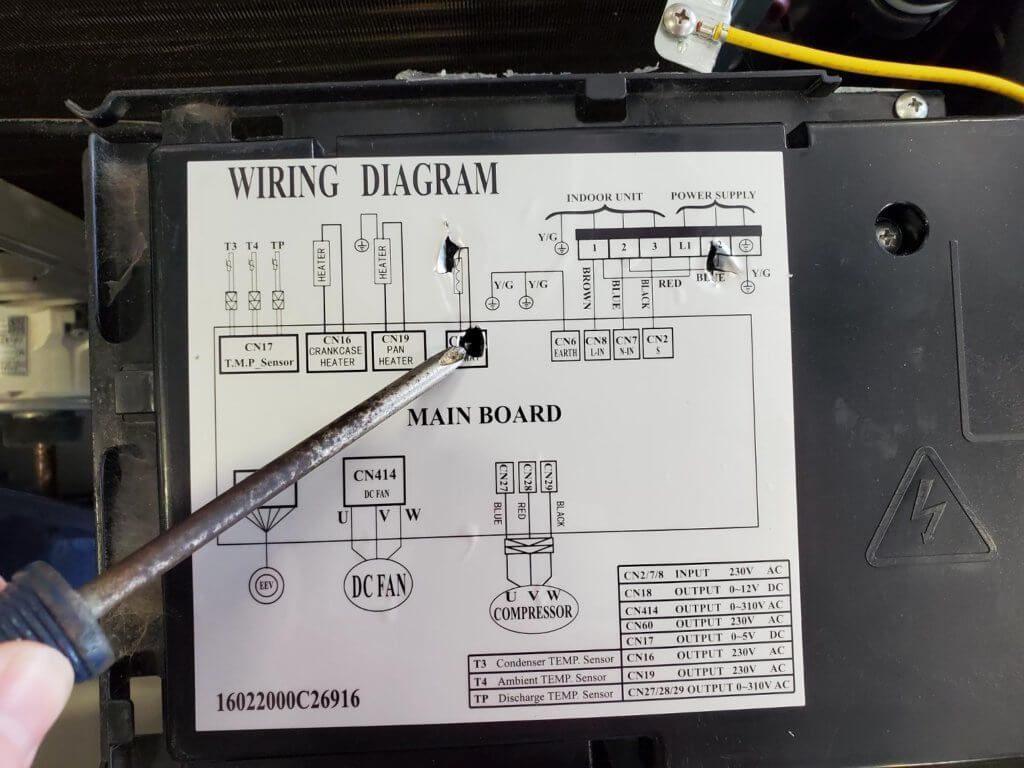
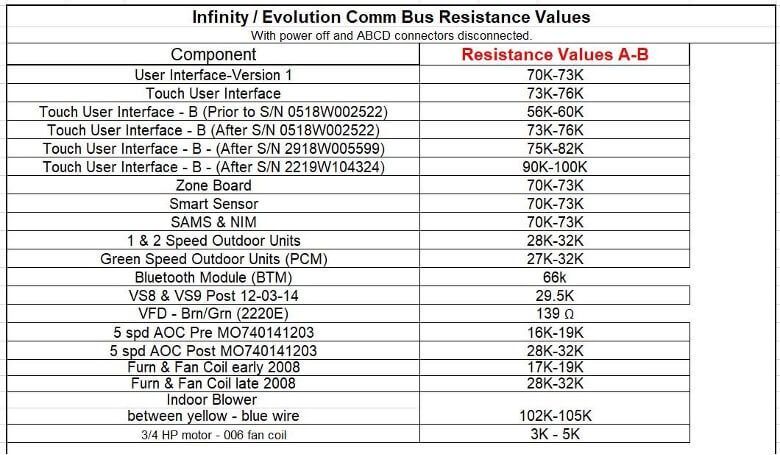
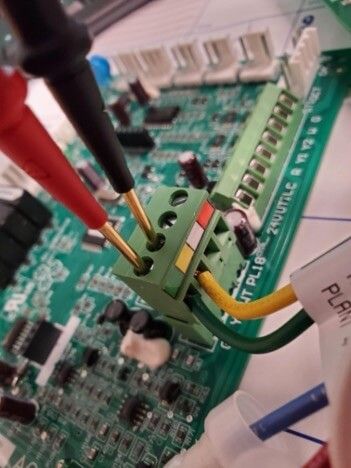
Lastly, I ask the tech to remove the green plug from the outdoor unit board and check the coms volts on the green plug. Does the coms volts come back up or stay low? If the volts stay low, then most likely there is a wire problem and the wire needs checking. If the volts come back up, then we will check the board. I ask the tech to reattach the green plug, recheck coms volts, and see if the volts dropped. If yes, then we will proceed to check resistance on the board. Remove power to the unit and the green plug to ohm the board on A&B or green and yellow.
All of the communicating components may be checked by checking the ohms on A&B or green and yellow.